How To Install Ceiling Tiles – In 5 Easy steps

Step-by-Step Guide: Installing Ceiling Tiles
Installing ceiling tiles is the easiest part of installing a suspended ceiling system. There is no need for drilling or screwing, making this the nice part of the job! The idea of fitting your ceiling tiles yourself may feel daunting, but it is actually more simple that people lead you to believe. Below is a step-by-step guide which will walk you through installing the tiles. But before we jump into this, you will need a couple of tools to complete the work:
Tools Required:
- . Tape Measure
- . Pencil
- . Straight Edge
- . Knife
- . Step Ladders
Steps:
1.) Unbox and Inspect Tiles: Unbox your ceiling tiles and make sure there is no damage or imperfections. If you are using tegular or microlook ceiling tiles, be careful not to break the fragile edges of the tiles when unpacking.
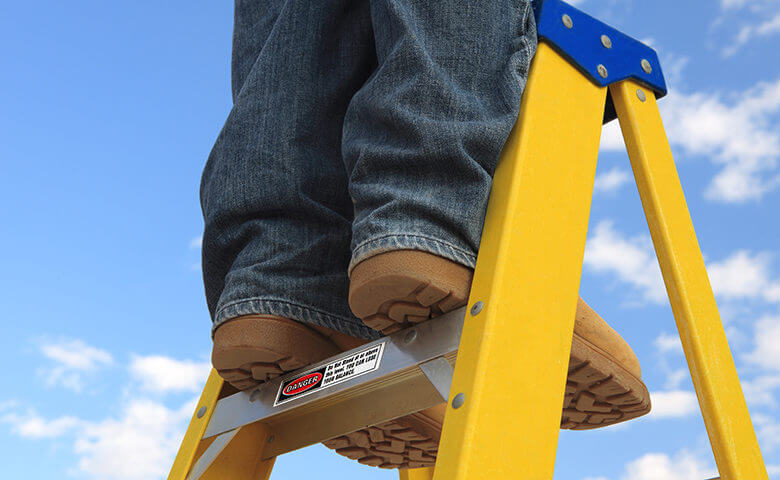
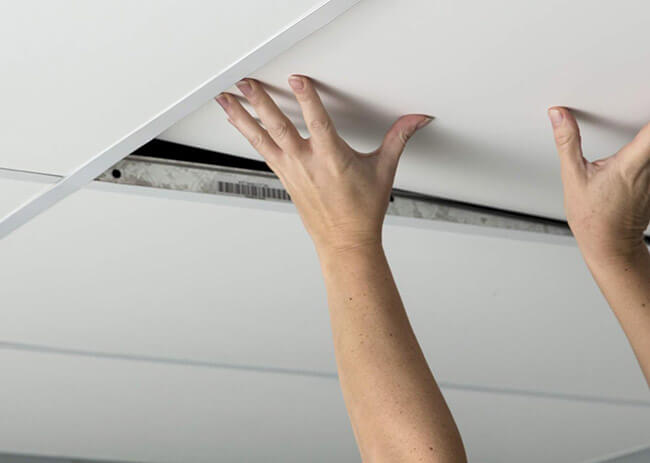
2.) Prepare Step Ladders: Safely erect your step ladders below your grid system. Be sure to maintain a safe way of working throughout, and don't climb to high, or lean to far from the ladders. Now, take your ceiling tiles and one by one, put them up through your grid system at an angle and drop into place, being careful not to catch the edges of the board, as they are fragile and this could damage them.

3.) Measure for Cut Tiles: Around the perimeter of your room, measure the internal spacing between the perimeter angle and the main runner of each hole, to calculate the size of the cut tile you need. Always double check your measurements, as you wouldn't want to waste any ceiling tiles by cutting them to the incorrect size.
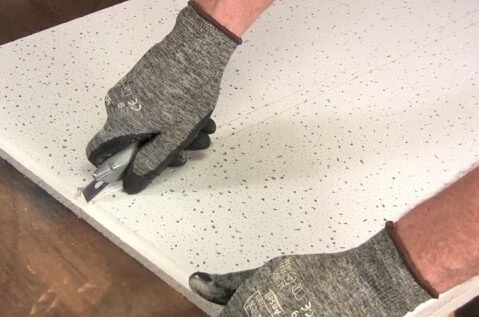
4.)Mark and Cut Tiles: Using a tape measure, mark out the length and width of the cut to the back of a ceiling tile. Now re-measure to check you have this right. Now, using a sharp knife, repeatedly cut a line along your markings to cut out the tile. Do not attempt to cut the tile in one stroke, as too much pressure could snap or break the tiles.
5.) Place Cut Tiles: Finally, put the tile cuts up through the grid and gently place in to the spacing. Some cuts may be tight, if this is the case, remove the full tile next to it, and gently press the cut in to place from above. Your ceiling tile installation is now complete!
Of course, not every ceiling tile installation is this straightforward, and you may come across scenarios where you may need to spend a little more time in order to cut and install the tiles properly. If in doubt, always consult an expert.
If you need more advice on installing ceiling tiles, then contact us today on 01253 257500.


